| Home > Photos | Album view: Thumbs . [List] |
|
|
|
|
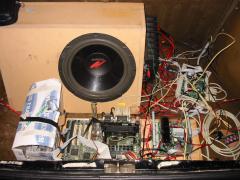
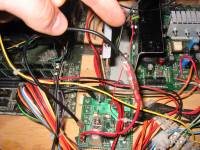
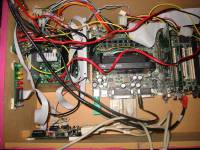
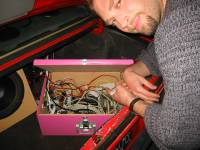
System overview. 15-Apr-2002 7:27pm Here she is. Isn't she a beauty! My car had a small engine you see - so I didn't want to burden it with unnecessary fanciful extras (such as a case). This does of course make taking it apart, um.. a little tricky. You can imagine how impressed I was to come back to NZ and see it all running happily in Pete's car. (Even with my dodgy-as-hell software running on a different PC). Nice work! |
|||
|
Toaster Box? 15-Apr-2002 7:28pm Lets just run through the major parts quickly, before we start dismantling. [1] The toaster box holds the hard-drive on it's side, so bumpy roads don't bounce sensitive heads! It has internal suspension. [2] The graphics card has to be held down with tape to stop it bouncing out. [This part is completely unnecessary - I never planned to have it, but Windows 98 was too STUPID to run without it. Time for Linux I feel!] |
|||
|
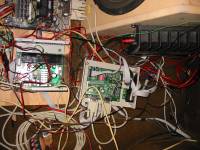
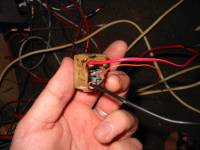
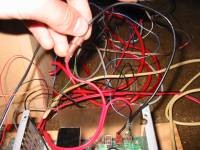
Hacky sack? 15-Apr-2002 7:28pm [3] The hacky sack isn't vital for correct operation, but it is vital for any gathering of friends in the sun. [4] The circuit board on the left is my custom designed/printed power supply - this supplies all the various voltages required for a PC, without converting up to 230V (that's just wasteful!) It also allows a 2nd back-up battery to power the PC. [5] The circuit board is another custom board, containing 2 microcontrollers (to monitor the user-interface knobs, and talk to the GPS, and send all this info back to the computer). They also make a mini disco in the boot by flashing lights (pretty much randomly with my dodgy firmware!) |
|||
|
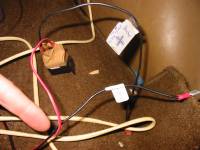
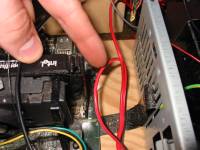
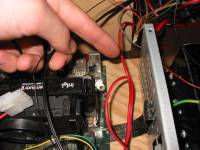
Pull it apart already! 15-Apr-2002 7:31pm OK, enough overview - lets get on with business! First, disconnect the power. Er, that's the red wire. |
|||
|
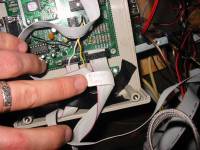
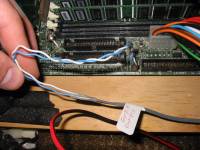
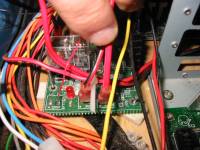
IMG_2558 15-Apr-2002 8:43pm It's all very simple really, I don't know why pete needed these labels ;-) This board (GPS) is powered from... |
|||
|
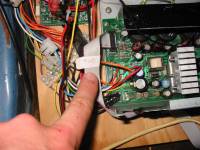
IMG_2559 15-Apr-2002 8:45pm ... from here. (Ahh, take a second and admire the power supply - I litterally just scavanged up the two aluminium bits to screw on - it runs pretty cool as power supplies go) |
|||
|
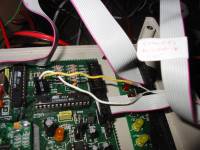
IMG_2560 15-Apr-2002 8:50pm The 2nd ribbon cable, runs from the GPS board... |
|||
|
IMG_2589 15-Apr-2002 11:17pm ... to the front of the car. Here, incidentally, is the entire control system which I mounted in the dashboard. Two "intelligent knobs" and volume. There's also a power button / light which you can't see. (A full run-down is given in my project page.) |
|||
|
IMG_2561 15-Apr-2002 8:55pm to the power button & LED in the dash. |
|||
|
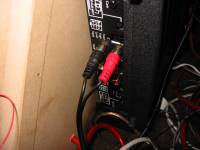
IMG_2562 15-Apr-2002 8:59pm Good wee amp. I miss my amp |
|||
|
IMG_2563 15-Apr-2002 9:01pm I've got NO idea what this is for. Hey, I just built it. |
|||
|
IMG_2565 15-Apr-2002 9:03pm Yeah, still no idea... This was part of some bits I added on the night before I flew out to london. (I was up until 3am, slept in, only had 1/2 an hour to pack, and nearly didn't make it down to Wellington in time to catch my flight out!!!) |
|||
|
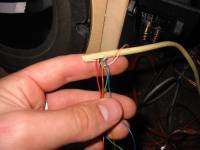
IMG_2564 15-Apr-2002 9:02pm ... more of the additions for Pete. I think he wanted seperate switches for the computer / amp in the dash. However the amp needs lots of Juice and you don't want to run high current wires through the car and back, so had to rig up some relays. And I threw in a voltage guage. Aren't I nice? This bit |
|||
|
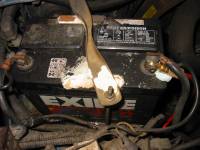
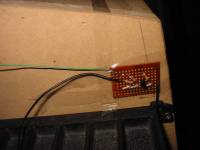
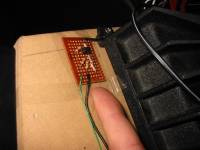
IMG_2566 15-Apr-2002 9:03pm The little board is something I slapped in at the last minute before getting the circuit boards printed. Allows a secondary battery to power the computer. In my old dunga car, the voltage droped right away (7V or so) while the car's cranking, so this was pretty necessary. |
|||
|
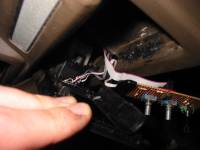
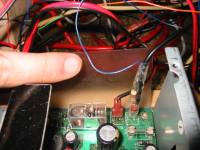
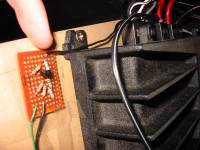
IMG_2567 15-Apr-2002 9:04pm Not my proudest earthing job. |
|||
|
IMG_2568 15-Apr-2002 9:05pm Messy because of last minute additions I did for pete. |
|||
|
IMG_2569 15-Apr-2002 9:07pm I don't know what the heck this is, but maybe it comes from... |
|||
|
IMG_2570 15-Apr-2002 9:08pm ...here. Ah that must've gone to the secondary battery (via another relay I added there?) |
|||
|
IMG_2571 15-Apr-2002 9:09pm |
|||
|
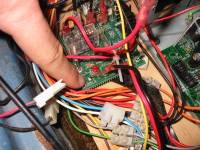
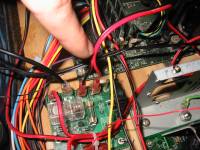
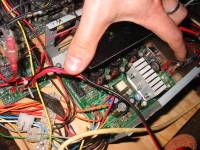
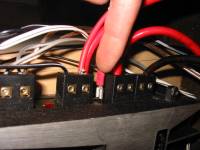
IMG_2572 15-Apr-2002 9:11pm Just some embarassing spagetty wiring. Note the professional mounting? Circuit board is nailed down on some pencil erasors!! Please don't use a hammer to remove the nails. |
|||
|
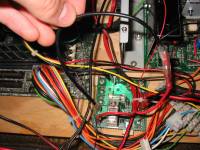
IMG_2573 15-Apr-2002 9:11pm some more embarassing spagetty wiring. |
|||
|
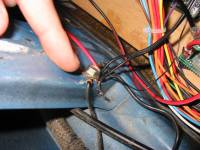
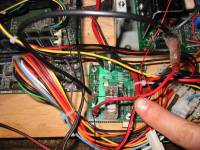
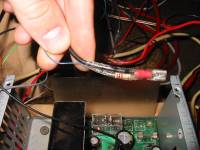
IMG_2574 15-Apr-2002 9:12pm Geezus! is that red wire running to earth??? I must have run out of black. |
|||
|
IMG_2575 15-Apr-2002 9:12pm I don't even want to know anymore... |
|||
|
IMG_2576 15-Apr-2002 9:13pm Yes, that's a red wire painted black at the back. What a cheap ass. This goes to... |
|||
|
IMG_2578 15-Apr-2002 9:38pm ...here. |
|||
|
IMG_2579 15-Apr-2002 9:39pm |
|||
|
IMG_2580 15-Apr-2002 9:41pm |
|||
|
IMG_2581 15-Apr-2002 9:42pm |
|||
|
IMG_2582 15-Apr-2002 9:44pm this goes... |
|||
|
IMG_2583 15-Apr-2002 9:45pm ...here |
|||
|
IMG_2584 15-Apr-2002 9:45pm this goes |
|||
|
IMG_2585 15-Apr-2002 9:45pm ...here! (to mute the amp) |
|||
|
IMG_2590 15-Apr-2002 11:36pm Some cross-overs for the tweeters in the front. |
|||
|
IMG_2591 15-Apr-2002 11:44pm And there, that's about it. Right, now just yank the remaining wires, assemble it in the new car and wire it back up. Simple! |
|||
|
My stereo in Pete's Beema 26-Nov-2003 3:16am And here it is - installed! Awesome! Not only did you get it running, but look at that tidy finish. Professional. (P.S. No it doesn't have a screen, it doesn't need one! Tasteful beeps and speech synthesiser give you all the feedback you need - if you're a geek like me or Pete, that is). |
|||
|
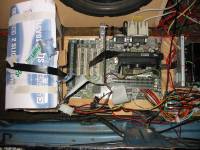
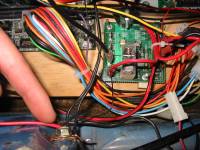
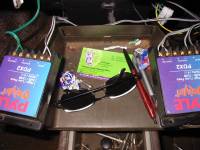
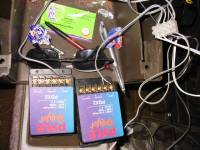
Car stereo guts 26-Nov-2003 12:01pm Far, far tidier than my installation! Hell, my "installation" involved nailing the motherboard down to the first plank of wood I found! None of this fancy ~box~ stuff :-) Pete had to painstakingly uninstall this all from my car, taking photographs of the start and end of every wire so he could reconnect it all. |
|||
|
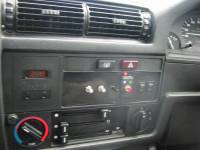
Boot (of) the Beema 26-Nov-2003 11:57am And there you go. Smarty pants Pete proves you CAN fit more than a single computer in the boot of a car. |
|
|
|